I’m a sheet cake type of girl. I love the simplicity…the ease…the I-don’t-have-to-make-layer-cakes-if-I-don’t-want-to-dangit beauty of a sheet cake. With a sheet cake, it’s all about the cake, and very little about stacking and icing and crumb layers and balancing and cursing because you just don’t have it in you to create the beautiful layer cakes you see out in the world. (See: I Am Baker. Girl’s got talent.)
This is the red velvet cake recipe from my cookbook; I adapted it ever so slightly when I made it yesterday afternoon. And this time, instead of using the standard cream cheese frosting recipe that I was always indoctrinated to believe was a requirement for red velvet cake, I used the quickly-becoming-my-favorite frosting recipe from Tasty Kitchen: That’s the Best Frosting I’ve Ever Had, by Tasty Kitchen member MissyDew.
Guys, this frosting. It’s indescribable, and such a fantastic alternative to cream cheese frosting, which, while delicious, can sometimes be a little rich. And from what I’m told, this “Best…” frosting is actually the original frosting for red velvet cake, before cream cheese frosting burst onto the scene and inserted itself into the mix.
And after trying my first bite last night, it was instantly clear that these two things were M.F.E.O.
(If you know what that stands for, you watch way too many movies. Like me.)
Let’s make the cake!
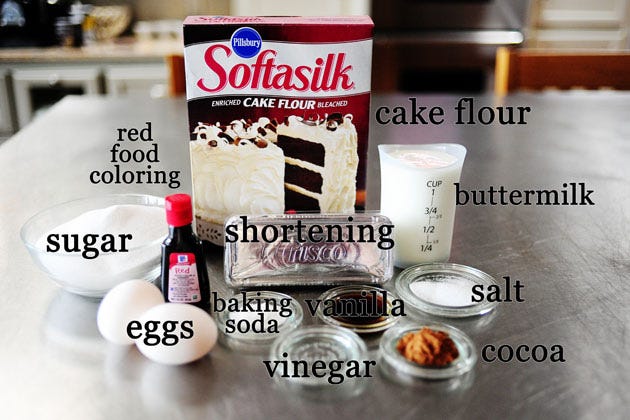
Here’s what you need. Preheat the oven to 350 F.
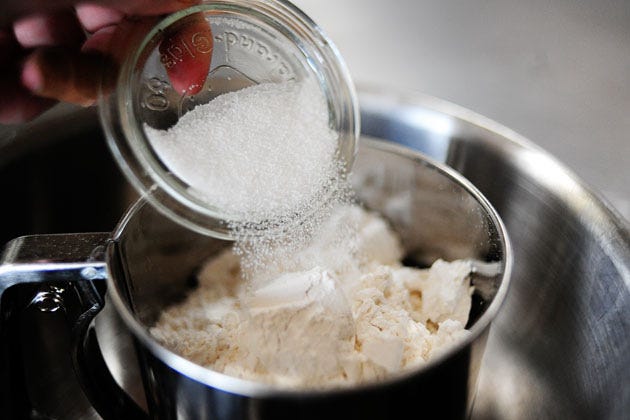
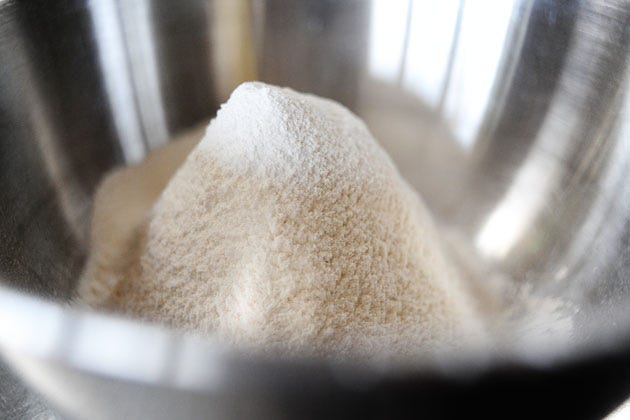
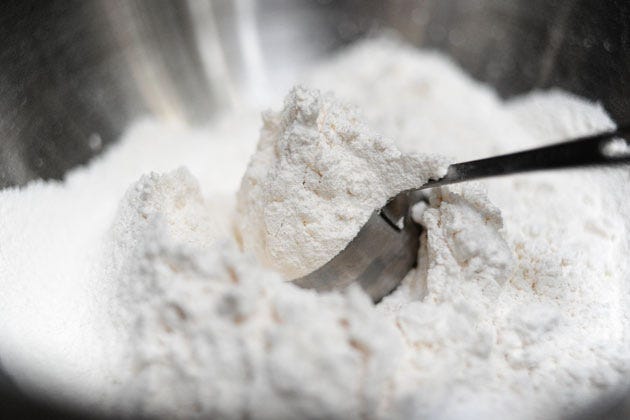
Begin by throwing cake flour and salt in a sifter.
(Thanks to Bridget, who very kindly sent me a sifter after discovering during her visit here that I just use big, unwieldy fine mesh strainers to sift my dry ingredients.)
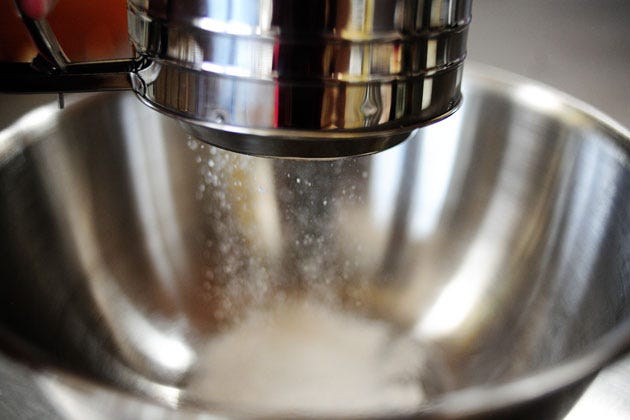
Sift them together…
And set them aside.
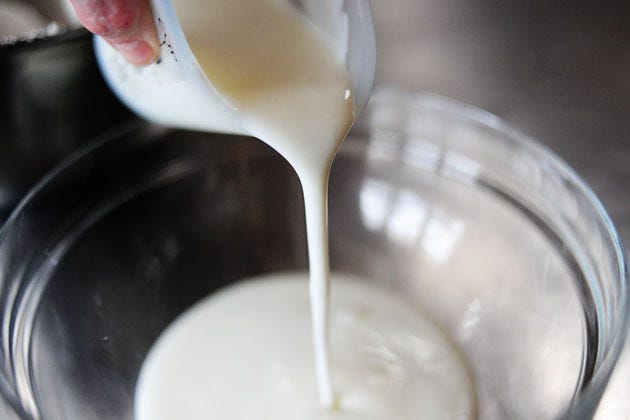
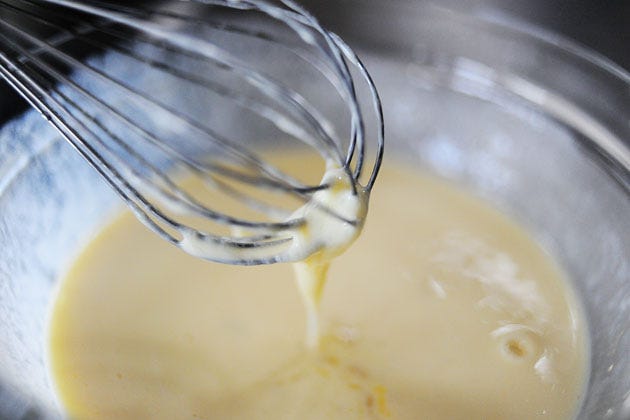
In a separate bowl, combine buttermilk…
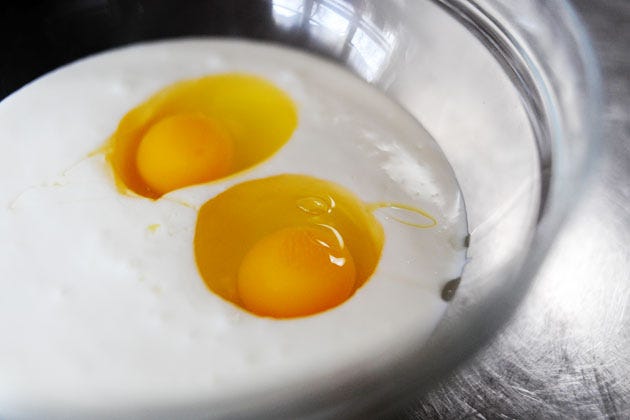
Two eggs…
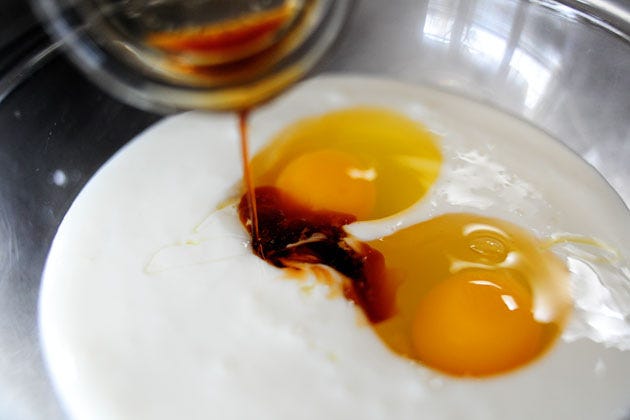
Vanilla, and baking soda.
Whisk it together, then add a little vinegar and stir. Set this aside, too.
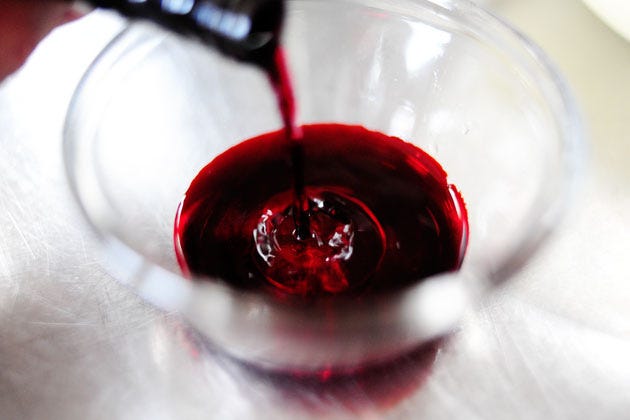
Finally, in a separate small bowl, add 1 1/2 ounces of red food coloring. This is one-and-a-half bottles (the small size) of red food coloring. Shocking. But that’s how red velvet cake gets its color.
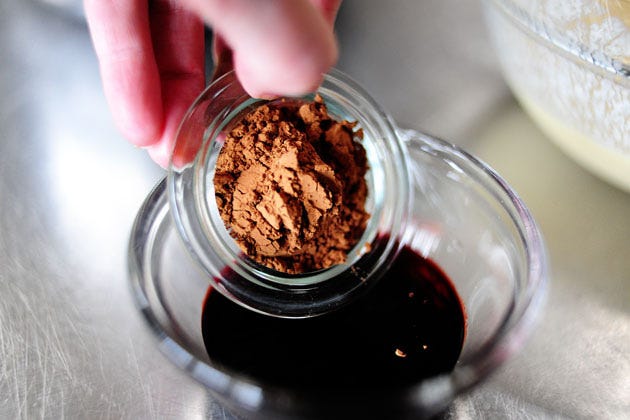
Add in cocoa powder…
And stir it together to make a paste. Set this aside for a minute.
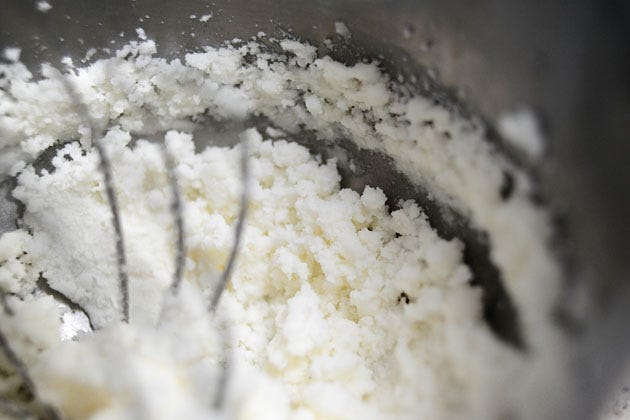
To make the cake, beat shortening and butter together until it’s light and fluffy.
Scoop out a little of the sifted flour mixture…
And dump it into the mixer, mixing until just combined.
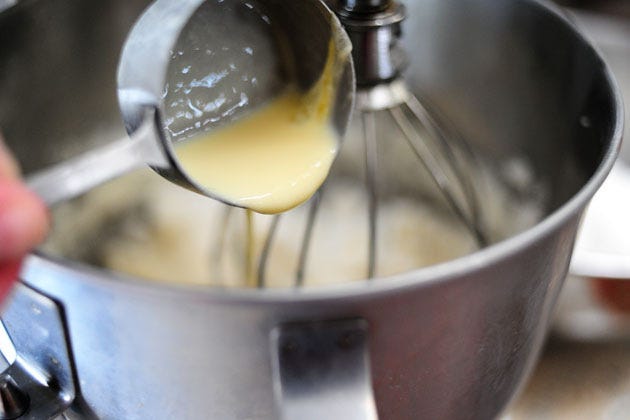
Next, add in a little of the buttermilk/egg mixture, mixing until just combined. Continue alternating the flour and buttermilk mixture, mixing well at the end. Be sure to scrape the sides of the bowl as needed.
I haven’t entered into the realm of scraping blades yet. Do they work?
Bueller? Bueller?
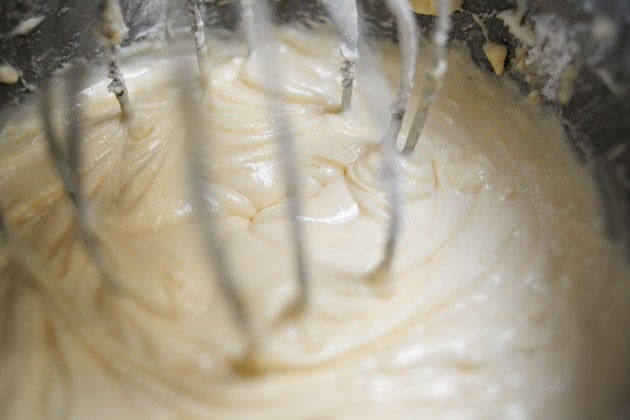
Yum. And this makes a nice whitish cake if you’d like to omit the red step.
But I’m not going to omit the red step. For I am making red velvet cake. And I will not be thwarted!
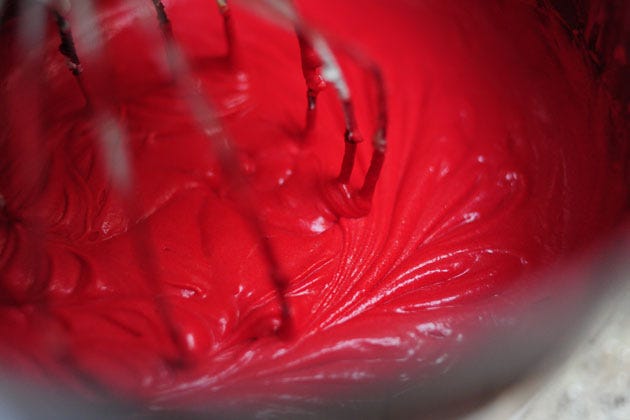
Pour in the red cocoa mixture…
And beat until combined. You’ll need to scrape the sides of the bowl a couple of times to make sure all the white batter is incorporated.
Now, thoroughly spray a large sheet pan with nonstick cooking spray. Get in the corners and crevices and hidden places. Spray, spray, spray.
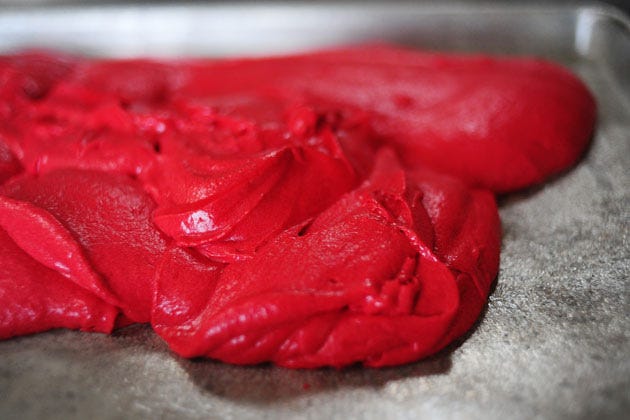
Then pour the batter into the pan.
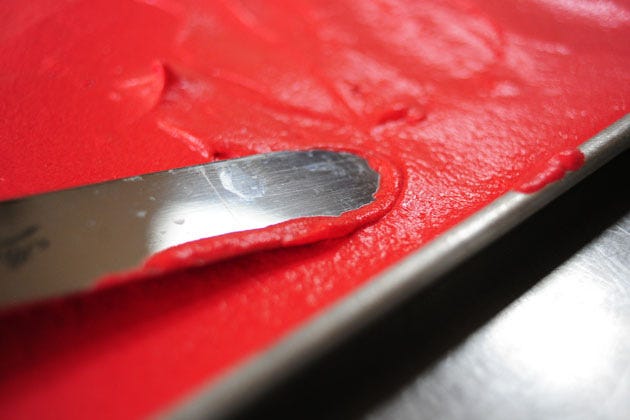
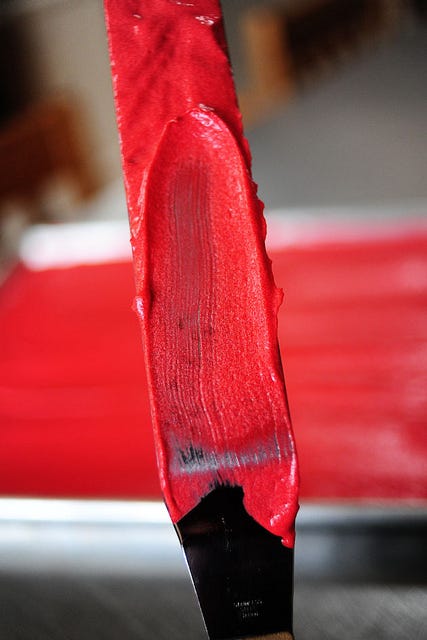
Then use a large spatula to spread the batter evenly.
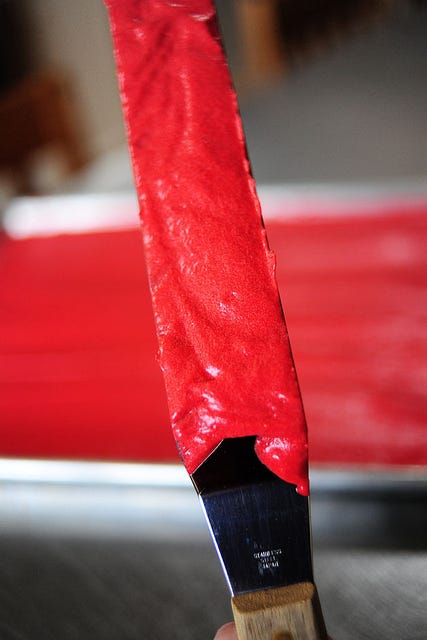
Then, this is a VERY important step. Take the spatula…
And do this.
Yeesh. That makes my tongue look a little large and scary, doesn’t it?
Pretend you didn’t see that.
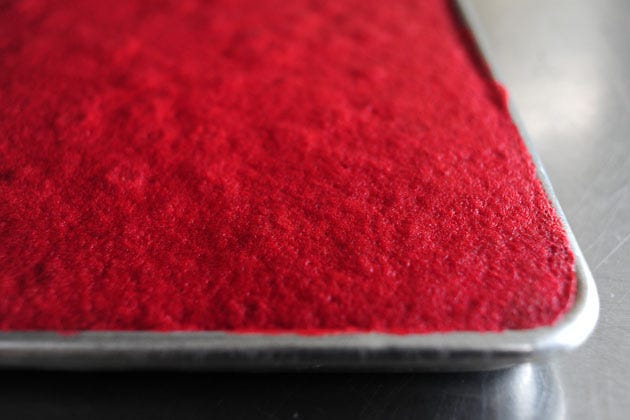
Bake the cake for 20 minutes, then remove it from the oven and let it cool in the pan for another 20 minutes or so.
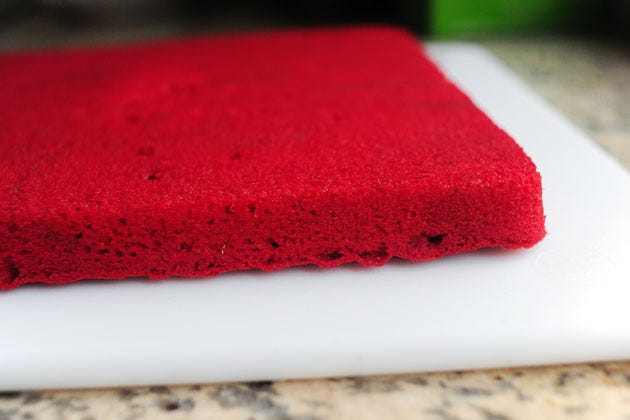
Place a large cutting board on top of the cake pan, then invert it to allow the cake to drop out of the pan. Allow the cake to totally cool, sticking it in the fridge or freezer to hasten the cooling if you’re in a hurry.
Make the frosting, and let me tell you something about the frosting after having made it several times: if, after making it, you feel like it “flopped,” you simply need to beat the heck out of it some more. In fact, I believe “beat the heck out of it” is a specific phrase included in the official instructions, and it really is true. There have been times I’ve made the icing and it’s appeared grainy or weird; but if I just beat the heck out of it some more, it redeems itself.
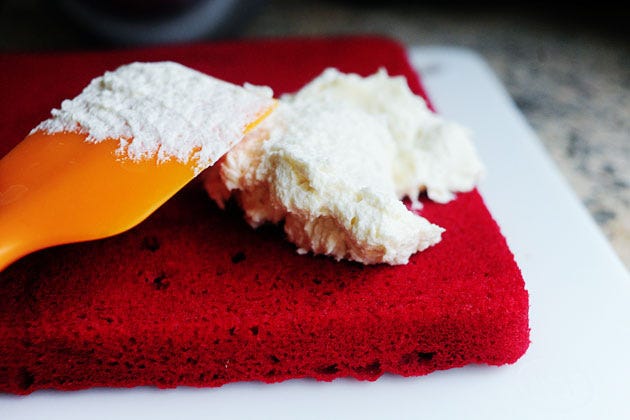
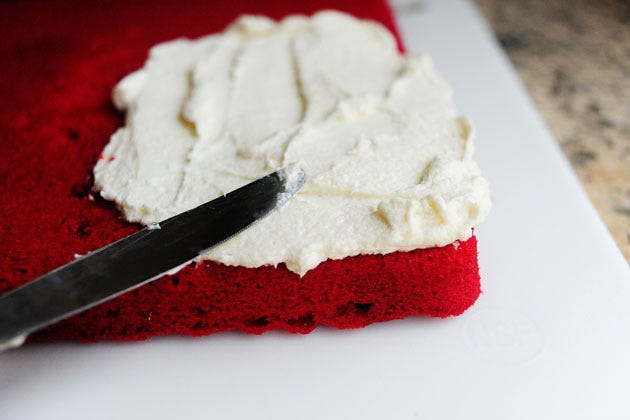
Plop the icing on the totally cooled (and even slightly cold is best) cake, then spread it thinly with a knife.
Another frosting note: I got by with one recipe of the frosting, but it resulted in a pretty thin icing layer all around. I liked this, but if you prefer a thicker application of frosting, you might double the frosting recipe. You might not quite need it all, but you can just eat the extra for dinner.
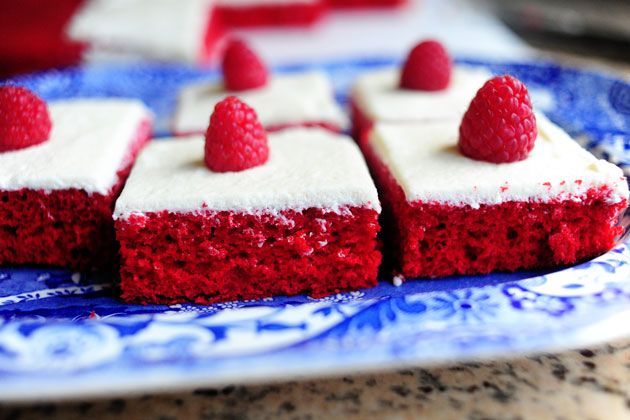
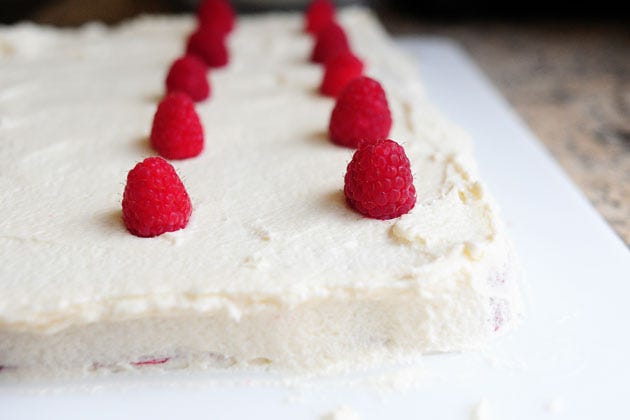
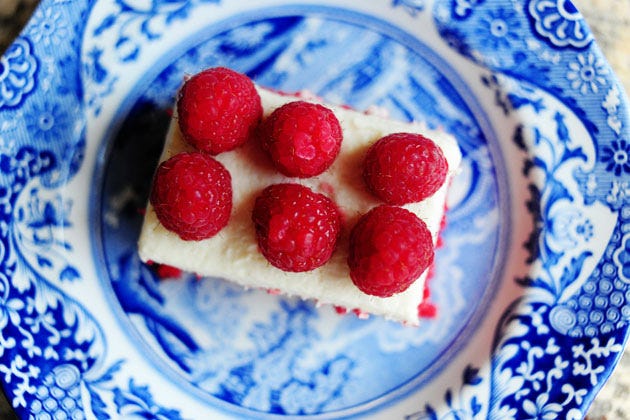
I like to make a little grid with raspberries (or whatever little trinket suits you.)
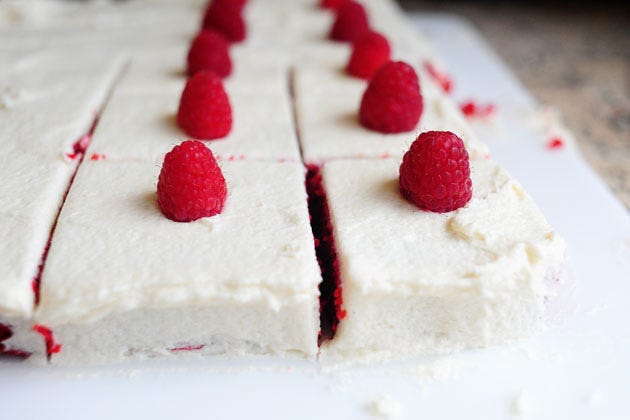
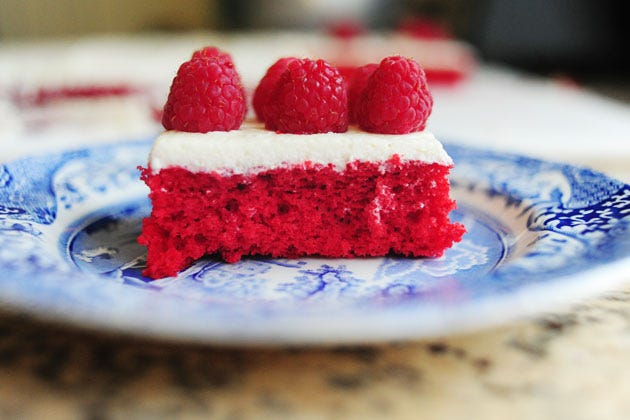
Then you can just cut the cake into squares with a sharp knife. It’s best to rinse/wipe the knife dry after each cut to avoid dragging red crumbs into the icing like I did.
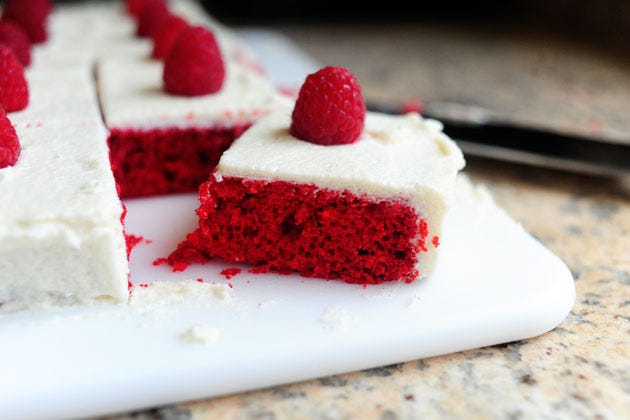
And this is why I like to turn sheet cakes out onto a surface before frosting them. Much easier to cut and serve!
Yum. This really is a lovely cake.
And you can do this to make it more…uh…“healthy.”
Forget I ever said that.
Whip this up sometime this spring. It’s bright and colorful and beautiful, but it’s also light, fluffy, and exceedingly delicious.
Enjoy!
